Want guilt-free bagels? Discover the top 6 secrets for making Protein Bagels that are low-carb and high-protein. Try now.
Introduction: Can Your Morning Bagel Be Both Healthy and Delicious?
Do you love bagels but worry about their carb content? What if I told you there’s a way to enjoy your favorite breakfast treat without compromising on nutrition or flavor? Enter protein bagels , the perfect solution for anyone looking to boost their protein intake while keeping carbs in check. In this blog post, we’ll share the top 6 secrets to making protein bagels that are not only delicious but also packed with nutrients. Let’s get started!
For more ideas on how to incorporate high-protein foods into your diet, check out our protein-packed recipes .
Overview: Why These Protein Bagels Are Special
Protein bagels offer the best of both worlds—a satisfying, chewy texture with a nutritional profile that supports your health goals. Whether you’re aiming for weight loss, muscle gain, or simply better energy levels, these bagels can be a game-changer.
Key Features:
- Time Requirement: Prep time is about 20 minutes, and bake time takes another 25–30 minutes.
- Difficulty Level: Beginner-friendly—no special skills required!
- Health Benefits: High in protein, low in carbs, and rich in fiber. For more information on the benefits of high-protein diets, explore this resource by Healthline .
These protein bagels are not only nutritious but also versatile enough to fit any lifestyle.
Essential Ingredients: The Building Blocks of Success
Here’s what you’ll need to create the ultimate protein bagels :

Main Ingredients:
- Protein Powder : Choose from whey, plant-based, or collagen protein powders.
- Almond Flour : Adds structure and keeps carbs low.
- Oats : Provides fiber and a hint of sweetness.
- Eggs : Binds the mixture together and boosts protein content.
- Baking Powder : Helps the bagels rise.
Optional Add-ins:
- Seeds (like flaxseed or chia) for extra crunch
- Spices (such as cinnamon or nutmeg) for flavor
- Sweeteners (like stevia or monk fruit) for a touch of sweetness
Substitutions and Variations:
- Swap almond flour for coconut flour for a different texture.
- Use gluten-free oats if needed.
- Experiment with different flavors like chocolate chips or peanut butter for variety.
Step-by-Step Instructions: Your Roadmap to Success
Follow these simple steps to whip up the best protein bagels . We’ve included helpful tips along the way!
| Step | Instructions | Tips & Techniques |
|---|---|---|
| Prepare the Dough | 1. In a large bowl, whisk together protein powder, almond flour, oats, baking powder, and any optional add-ins. 2. Add eggs and mix until a dough forms. | – Ensure all dry ingredients are well combined before adding wet ingredients. – If the dough is too sticky, add more almond flour one tablespoon at a time. |
| Shape the Bagels | 1. Divide the dough into equal portions (about 6–8 pieces). 2. Roll each piece into a ball, then use your thumb to create a hole in the center. | – Use a scale for precise portioning. – Gently stretch the dough to form an even ring. |
| Chill the Bagels | 1. Place the shaped bagels on a parchment-lined baking sheet. 2. Cover with plastic wrap and refrigerate for at least 30 minutes. | – Chilling helps the bagels hold their shape during baking. – Longer chilling times (up to overnight) enhance flavor. |
| Boil the Bagels | 1. Bring a pot of water to a gentle simmer. 2. Carefully drop each bagel into the water and boil for 1 minute per side. | – Boiling gives the bagels their signature chewy texture. – Handle them gently to avoid breaking. |
| Bake to Perfection | 1. Preheat your oven to 375°F (190°C). 2. Arrange boiled bagels on a baking sheet and bake for 25–30 minutes, or until golden brown. | – Rotate the pan halfway through for even browning. – Check with a toothpick; it should come out clean when done. |
| Cool and Store | 1. Allow theprotein bagelsto cool completely on a wire rack. 2. Store in an airtight container at room temperature for up to 3 days or freeze for longer storage. | – Cooling prevents moisture buildup. – Freezing extends shelf life without sacrificing quality. |
Assembly: Putting It All Together
Now that you’ve prepared all the elements, let’s talk about assembly and presentation.
- Start by mixing the dry ingredients thoroughly before adding the wet ingredients.
- Shape the dough into rings and chill to set the structure.
- Boil briefly for a chewy texture, then bake until golden brown.
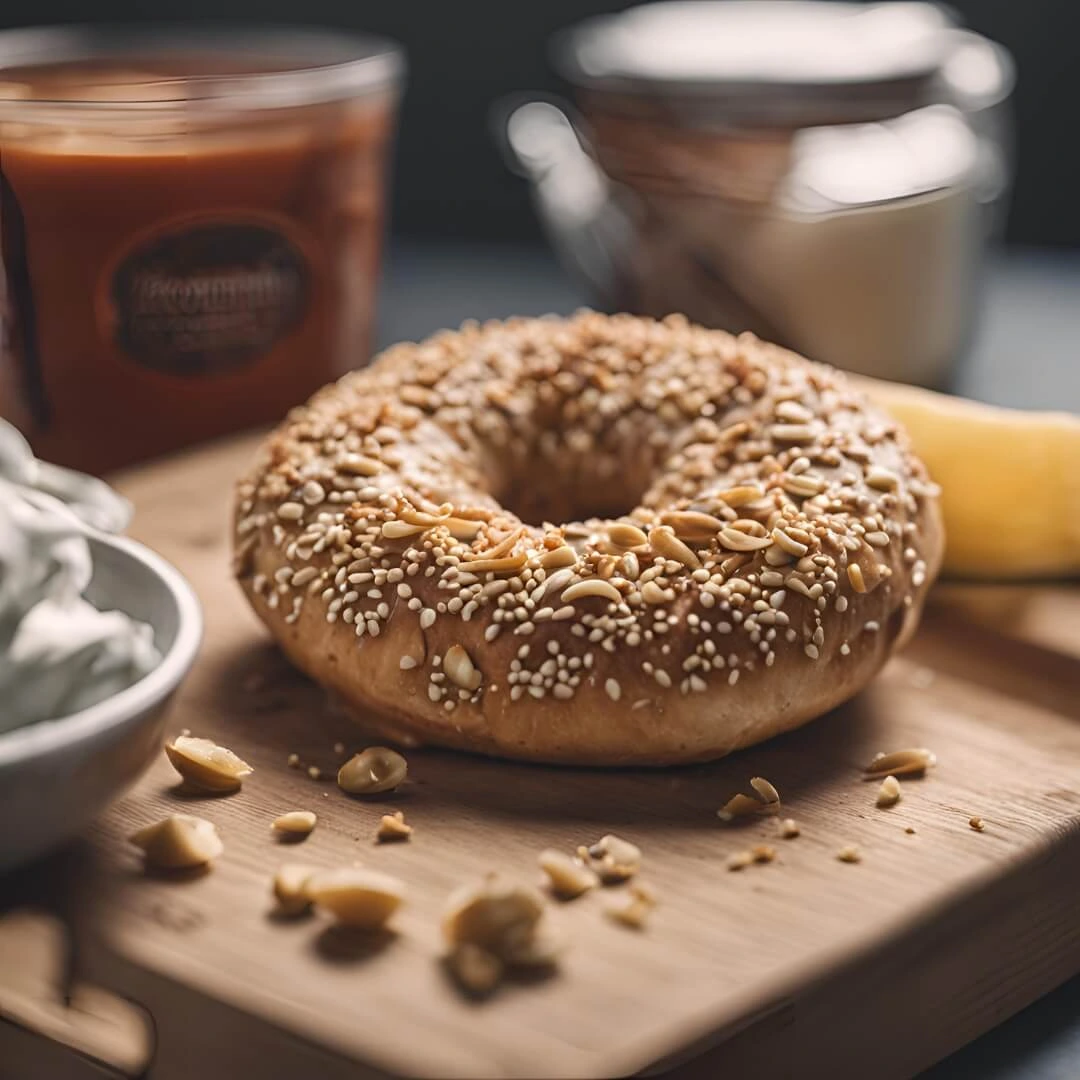
- Serve plain or top with your favorite spreads, such as avocado, cream cheese, or nut butter.
Pro tip: For a festive touch, sprinkle sesame seeds or everything bagel seasoning on top before baking.
For even more variation ideas, see our other Asian-inspired recipes here .
Storage and Make-Ahead Tips: Keep Them Fresh
If you’re planning ahead or want leftovers, here’s how to store and reheat your protein bagels :
- Storage: Allow the bagels to cool completely, then transfer them to an airtight container. Store at room temperature for up to 3 days.
- Freezing: Wrap individually in plastic wrap and place in a freezer-safe bag for up to 2 months.
- Reheating: Toast in a toaster or warm in the microwave for 30 seconds for a fresh-from-the-oven taste.
Recipe Variations: Spice Things Up!
Once you’ve mastered the classic version, try these creative twists to keep things exciting:
Variation 1: Chocolate Chip Delight
Fold in dark chocolate chips for a sweet treat.
Variation 2: Cinnamon Raisin Bliss
Add ground cinnamon and raisins for a classic flavor combo.
Variation 3: Savory Herb Option
Mix in dried herbs like oregano, basil, or rosemary for a savory twist.
Variation 4: Peanut Butter Swirl
Swirl in natural peanut butter for added richness.
Variation 5: Blueberry Burst
Stir in fresh or frozen blueberries for a fruity flair.
Variation 6: Everything Bagel Style
Top with an “everything” seasoning blend for a crunchy finish.
Conclusion: Time to Get Baking!
There you have it—the ultimate guide to making protein bagels that are both nutritious and delicious. With their high protein content, low-carb profile, and endless customization options, these bagels are sure to become a staple in your kitchen. So grab your apron and start baking today! Remember, cooking should be fun, so feel free to experiment and make the recipe your own. Happy baking!
FAQs: Answers to Common Questions
Q: Can I make these bagels gluten-free?
A: Yes! Use certified gluten-free oats and almond flour for a safe option.
Q: Are there any health benefits to eating protein bagels?
A: Absolutely! They provide sustained energy, support muscle recovery, and help with weight management due to their high protein and low carb content.
Q: How long does it take to prepare?
A: From prep to bake, this recipe typically takes around 60–70 minutes, including chilling and boiling time.
Q: Can I freeze these bagels?
A: Yes! Freeze individual portions for easy reheating whenever you’re craving a delicious breakfast treat.