Craving a tangy Filipino classic? Learn how to make Sinigang in just 3 easy steps for a delicious meal. Discover now!
Introduction:
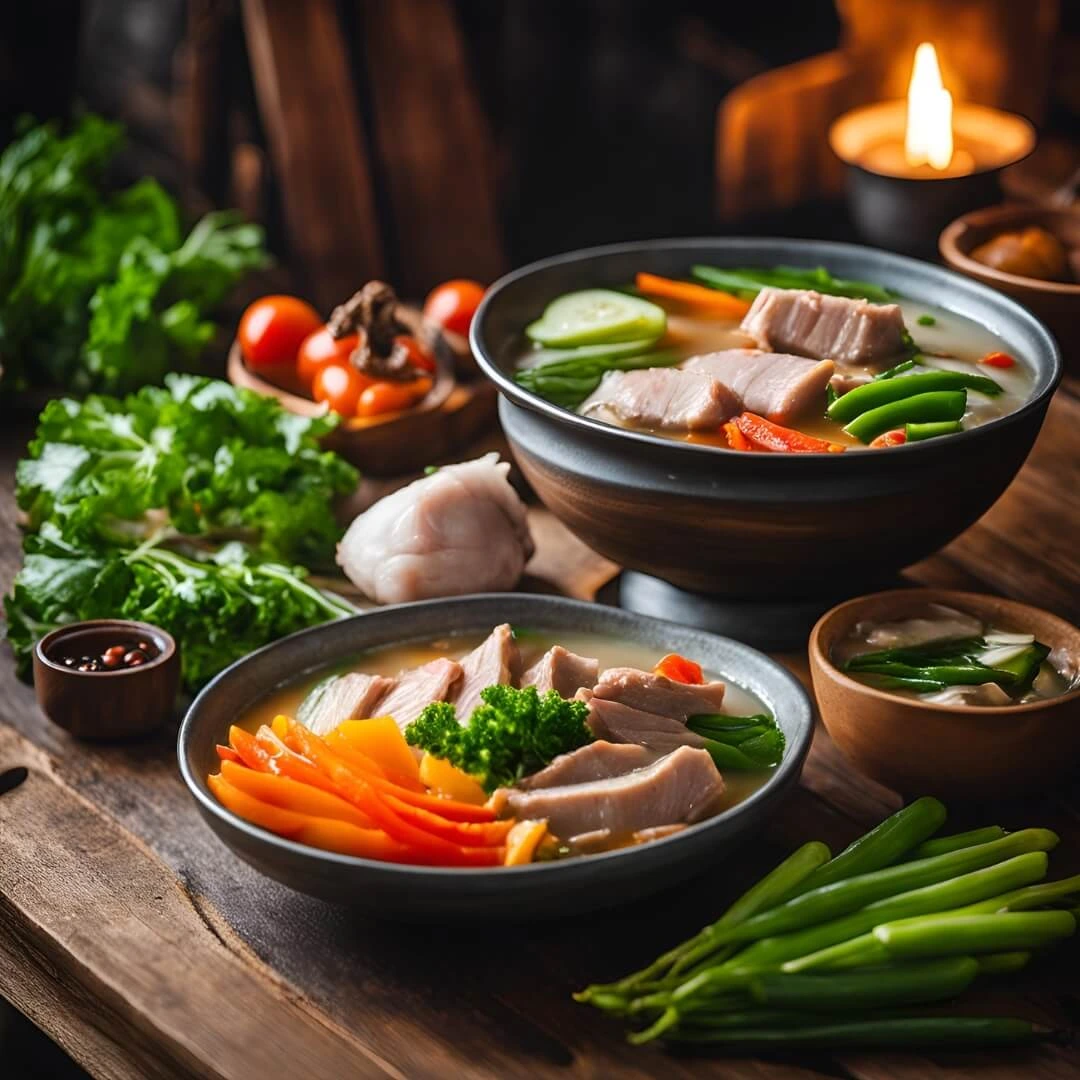
Have you ever wondered how the tangy, sour flavors of Sinigang can transport you straight to the heart of Filipino cuisine? This comforting soup is a staple in many households, combining tender meat, vibrant vegetables, and a perfectly balanced broth that’s both refreshing and hearty. But here’s the secret: You don’t need hours or exotic ingredients to enjoy this dish at home! With just three simple steps, you can recreate the authentic taste of Sinigang right in your kitchen. Need proof? Check out this step-by-step guide and see how easy it really is. So, are you ready to bring the flavors of the Philippines to your table?
Overview:
What makes Sinigang so special? This Filipino classic combines souring agents like tamarind, kamias, or calamansi with your choice of protein (pork, shrimp, beef, or even tofu) and an array of fresh vegetables. The result is a comforting, flavorful soup that’s both light and satisfying.
This recipe takes about 30 minutes from start to finish, making it perfect for busy weeknights or casual gatherings. Plus, it’s beginner-friendly—you don’t need any fancy equipment or advanced techniques to pull it off. For more information on the health benefits of sour foods, explore this resource by Healthline .
Even if you’re new to Filipino cooking, Sinigang promises to deliver big flavor without the hassle.
Essential Ingredients:
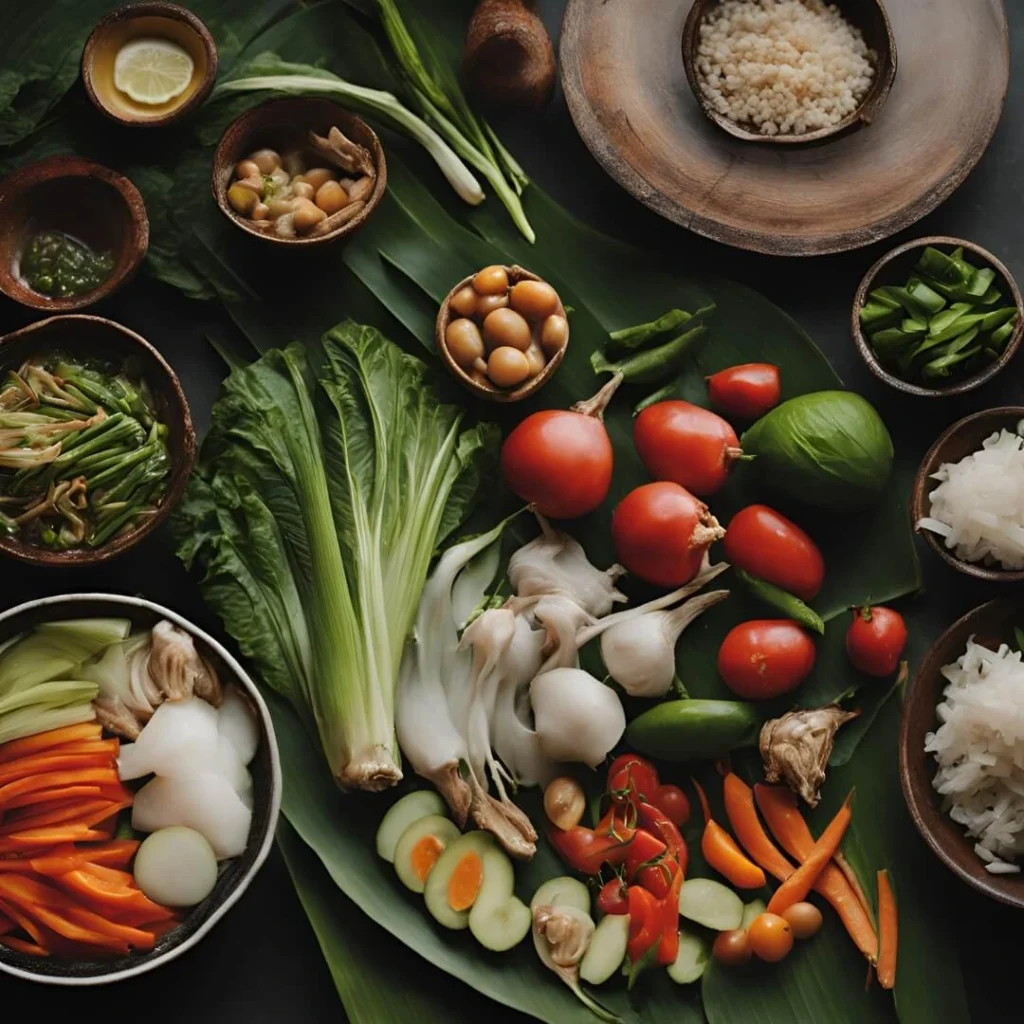
Here’s what you’ll need to create this flavorful dish. Don’t worry if you don’t have everything—we’ve included substitutions and variations!
Base Components:
- Protein Options: Pork ribs, shrimp, fish, beef, or tofu work beautifully.
- Vegetarian Option: Replace meat with extra firm tofu or mushrooms.
- Souring Agent: Tamarind paste, kamias, or calamansi provides the signature sourness.
- Alternative: Use store-bought sinigang mix for convenience.
- Vegetables: Eggplant, radish, spinach, okra, and long beans add texture and nutrition.
- Tip: Add hardier vegetables first and delicate greens last to preserve their freshness.
Seasonings & Broth:
- Fish Sauce: Adds saltiness and umami depth.
- Adjustment: Start with less and adjust according to taste.
- Garlic & Onion: Sautéed for added aroma and flavor.
- Substitution: Skip onions if you prefer a milder taste.
Optional Garnishes:
- Lemon Grass or Bay Leaves: Enhances the broth’s fragrance.
- Chili Peppers: Adds heat for those who love spicy food.
Step-by-Step Instructions:
Follow these detailed steps to prepare your Sinigang .
| Step | Instructions | Tips & Techniques |
|---|---|---|
| Prepare the Broth | 1. In a large pot, sauté garlic and onion until fragrant. 2. Add your chosen protein and cook until browned. 3. Pour in water and bring to a boil. 4. Stir in tamarind paste or sinigang mix and simmer for 10 minutes. | – Deglaze the pan with a splash of water to capture any browned bits. – Adjust the amount of souring agent based on your preference. |
| Add the Vegetables | 1. Begin with harder vegetables like eggplant and radish; simmer for 5-7 minutes. 2. Add softer vegetables like okra and long beans; cook for another 3-5 minutes. 3. Finally, toss in leafy greens like spinach and let them wilt. | – Cut vegetables into bite-sized pieces for even cooking. – Taste the broth periodically and adjust seasonings as needed. |
| Finish & Serve | 1. Taste and adjust with fish sauce or additional souring agent. 2. Ladle into bowls and garnish with fresh herbs or chili peppers. 3. Serve hot with steamed rice on the side. | – Let the soup sit for a few minutes before serving to allow flavors to meld. – Offer extra fish sauce or vinegar on the side for customization. |
Assembly:
Now that you’ve prepared all the components, it’s time to bring them together!
- Build the Broth: Start by creating a rich, flavorful base with your protein and souring agent.
- Layer the Vegetables: Gradually add vegetables, starting with the hardest ones and finishing with delicate greens.
- Season & Serve: Taste the soup one last time, adjust seasonings, and serve piping hot with steamed rice.
Presentation Tip: Garnish each bowl with fresh herbs or a sprinkle of chili flakes for added color and flair.
For inspiration on creative presentations, explore these ideas .
Storage and Make-Ahead Tips:
While Sinigang tastes best when freshly made, here’s how you can prep ahead:
- Broth Preparation: Cook the broth up to a day in advance and refrigerate. Reheat gently before adding fresh vegetables.
- Freezing: Freeze individual portions of the soup for up to 3 months. Thaw overnight in the fridge before reheating.
- Reheating: Reheat leftovers on the stovetop, adding a little water if the soup has thickened.
Recipe Variations:
Feel free to experiment with these creative twists:
- Spicy Version: Add sliced bird’s eye chilies or red pepper flakes for extra heat.
- Seafood Twist: Use shrimp, clams, or fish for a coastal-inspired take.
- Vegan Option: Replace meat with tofu and use vegetable broth for a plant-based version.
- Herb Infusion: Incorporate lemongrass or pandan leaves for added fragrance.
Conclusion:
Making Sinigang doesn’t have to feel intimidating. With our ultimate 3-step guide, you can enjoy this comforting, flavorful soup without spending hours in the kitchen. Its combination of sour, savory, and fresh ingredients makes it both satisfying and exciting. So go ahead, gather your loved ones, and savor this delightful dish. Remember, cooking is all about having fun—so feel free to tweak the recipe to suit your tastes!
FAQs:
Q1: Is Sinigang healthy?
Yes, it is! Made with lean proteins, fresh vegetables, and natural souring agents, this dish offers a balanced mix of nutrients. Opt for low-sodium fish sauce to reduce sodium content further.
Q2: Can I make this dish vegetarian?
Absolutely! Simply replace the meat with tofu or mushrooms and use vegetable broth instead of water. No other adjustments are needed.
Q3: How do I store leftover Sinigang ?
Store the soup in an airtight container in the refrigerator for up to 3 days. Reheat gently on the stovetop, adding water if necessary.
Q4: Can I make this dish gluten-free?
Yes, ensure your fish sauce and any seasoning blends are labeled gluten-free, and no other adjustments are needed.